

There are multiple ways of uploading GPX files (‘courses’) to Garmin devices. This post covers using Garmin Explore, which is a great way to do it if you already use Garmin Explore to plan your routes, or if you want to upload in-app only. We compare all three methods here.
Garmin Explore is a great companion app by Garmin with some nice features, including uploading GPX files to Garmin devices – and inbuilt creation of GPX files. The menus are not intuitive, though, so you may need some help to get it to work.
Add your Course / GPX File
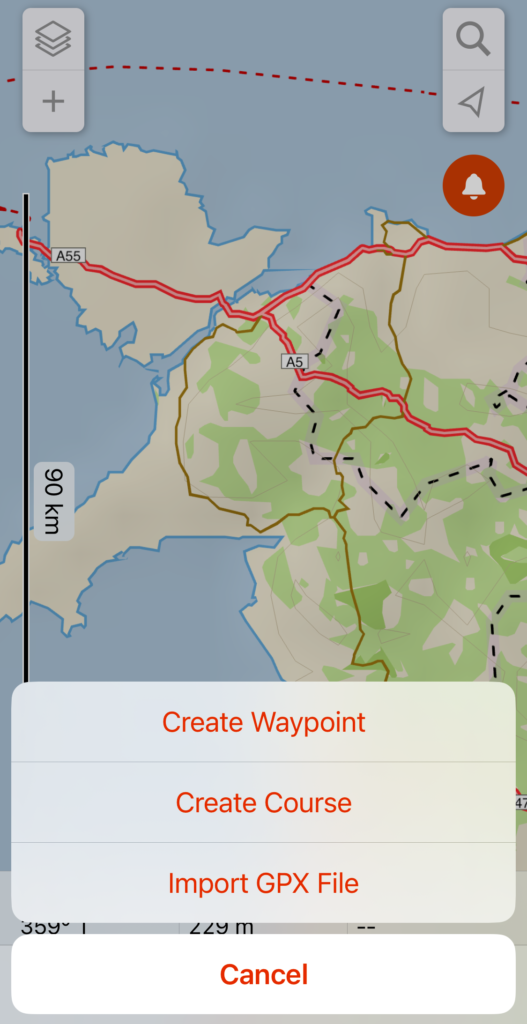
The first thing to do is get your route into Garmin Explore. To do this, tap the + icon at the top-left of the map screen. You can either create your course directly in the app, or upload a pre-existing GPX file.
Add your Course to a Collection
Once you’ve created the course, you need to check which collections gets synced to your device. Navigate to ‘Devices’ at the bottom of your screen and choose ‘Sync Settings’. If ‘Sync Everything’ is selected, head back a screen and tap the Sync button. When the sync finishes, your course should appear on your device!
If Sync Selection is selected, this means that the app will only send courses that are in your ‘Primary Collection’ to the device. You need to add your new course to the Primary Collection to get it to sync. You can check in the Sync menu what your Primary Collection is. Add the course to the collection by heading to Library > Courses > (your course), and choosing the Add to Collection below the map. Once done, you can go back to the Device menu and sync the device – when it finishes, the course will be on your device!