This post will focus on how to navigate with a map and compass on expeditions and shorter walks. I’ll cover several advanced and basic compass and map reading techniques as well as what to do if you get lost. And, of course, when to pull out the all-knowing GPS in your phone.
Jump to…
Traditional navigation is a skill that is very good to have. Even if you plan to use your phone for GPS, it’s never good to rely on battery life. I never go on walks without a map and compass – even if I have my phone. Incidentally, batteries run down faster when it’s cold – and bad weather is exactly when you’re likely to need navigation the most, and be less focused on getting it right.
In this post, I’ll assume you know ho to take bearings with a compass – if not, have a look at our guide here.
Four Tips
Get a Good Map
The first thing you need is a decent map. You can’t rely on a ‘google maps’ – style printout – you really need something a bit better, such as a Harvey Map – or, my preference, Ordnance Survey (OS) maps.
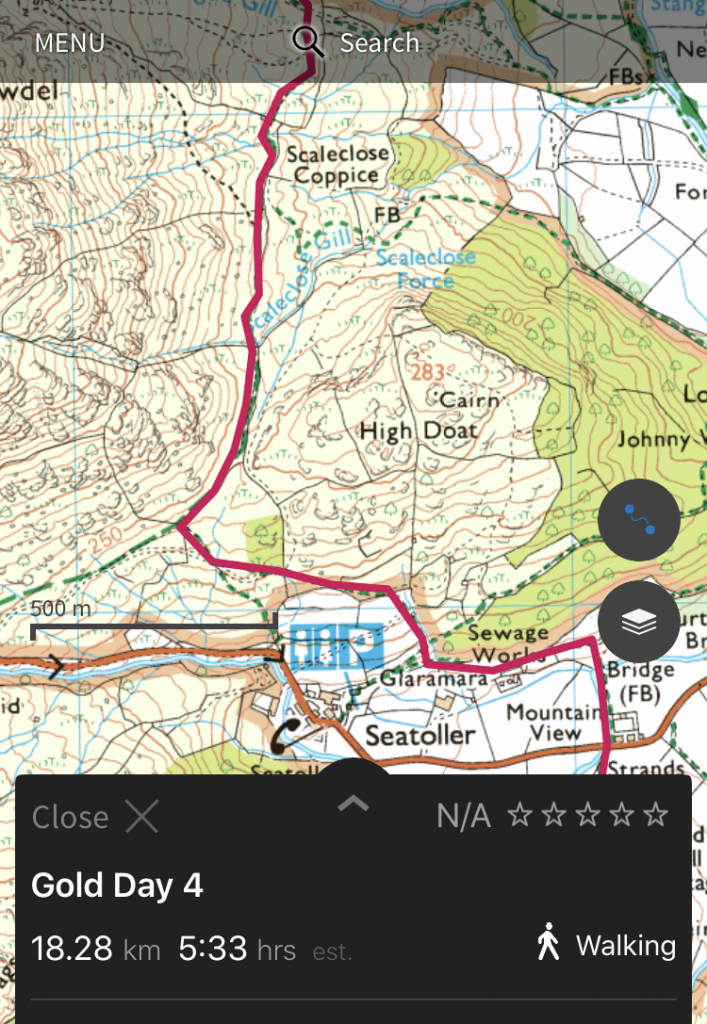
OS maps aren’t expensive – the regular paper ones are around £10, and the waterproof ones (which are worth it) £16. Most new OS maps also come with a free mobile download (advertised on the front), which is fantastically useful. I use the OS app to plan all my routes, so I can see how far they are and roughly how long they’ll take. If you do want to be able to view all your maps on a browser too, you have to upgrade to a premium account, which costs £26/year – very reasonable.
The best scale (for hillwalking in the UK at least) is 1:25,000, because it has all the detail you could need to navigate in almost any situation in the UK. I recommend getting the waterproof versions for two reasons: 1. (Obviously) they are waterproof and 2. You can mark them with permanent ink and then rub it off with nail varnish remover to reuse them.
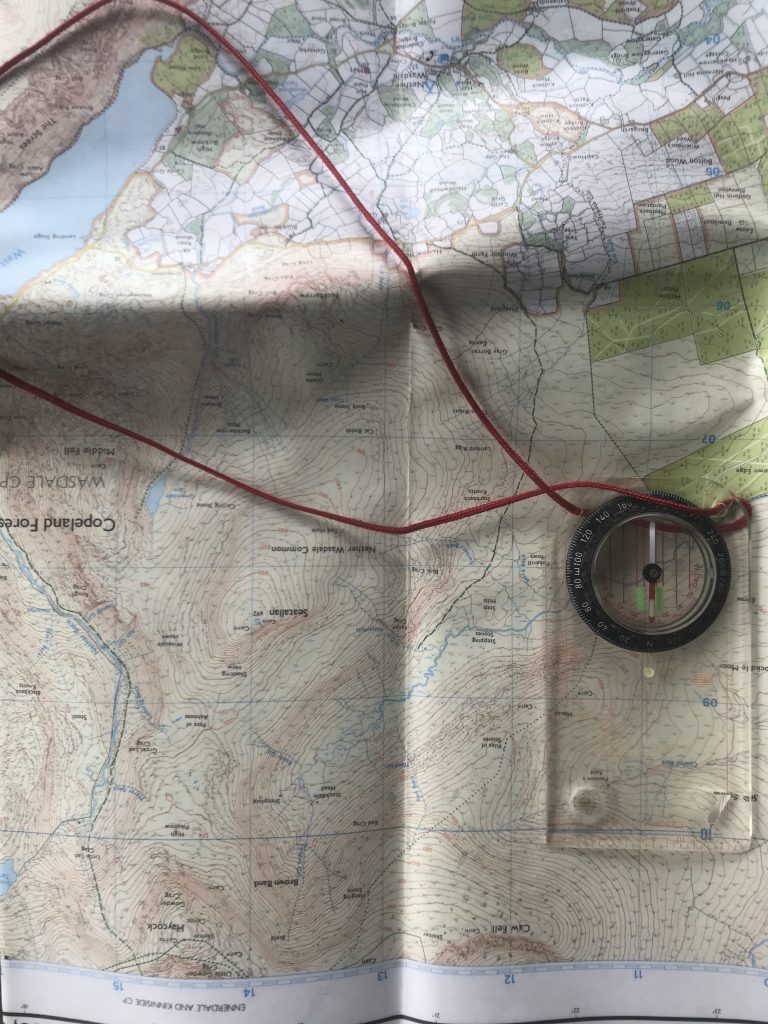
You need a proper Compas
Compasses come in many shapes and sizes, but for navigation it is essential to have one with a rotating bezel to take bearings with. If you don’t know how to take bearings, have a look at our post here. As I say there, many cheap compasses are available – but a bad compass could cost a life. It is worth paying slightly more for a good brand like Suunto or Silva. As also mentioned there, we recommend the Silva Expedition 4 (£25) or the Silva Ranger (£20ish).
Use the Map Correctly
Maps are fairly easy to use if you stick to a few simple principles, but it does take practice. There are a few simple steps you can take though to set yourself up to succeed.
Firstly, orientate the map correctly: make sure that north on the map is pointing north in the real world (use your compass to find north). This won’t be necessary in many simple situations, but it’s worth getting into the habit of doing it for the more complex situations where it does help.
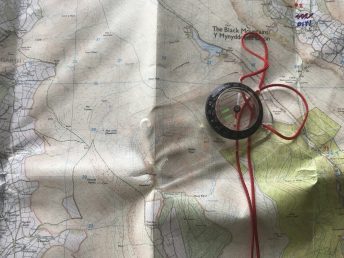
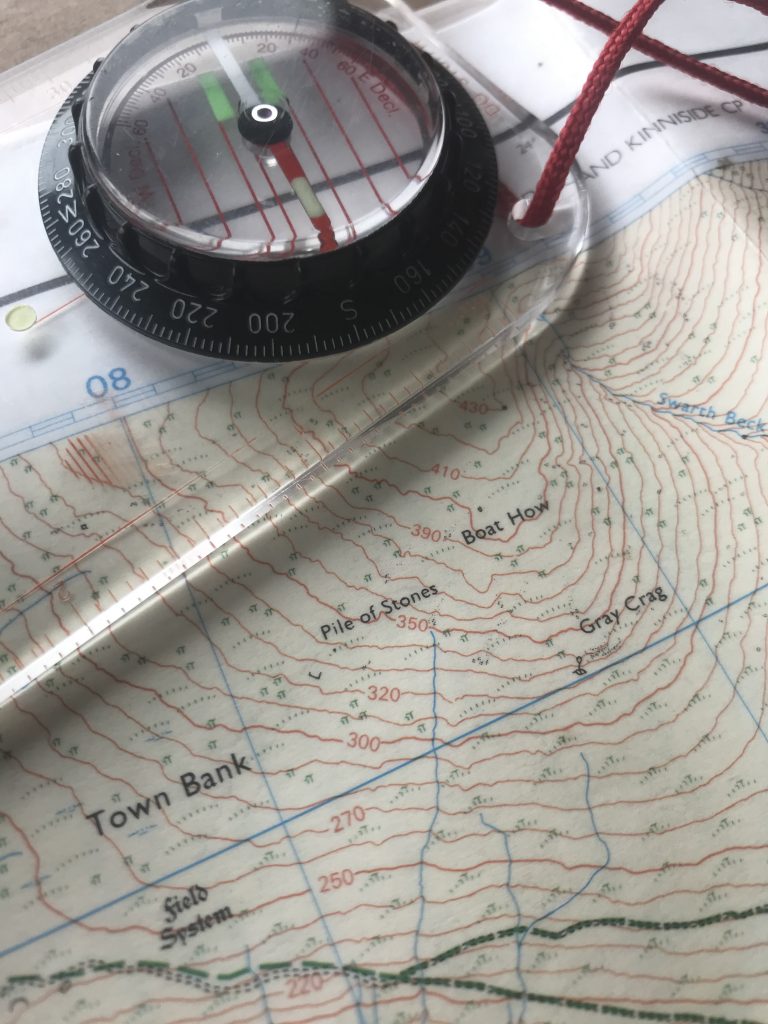
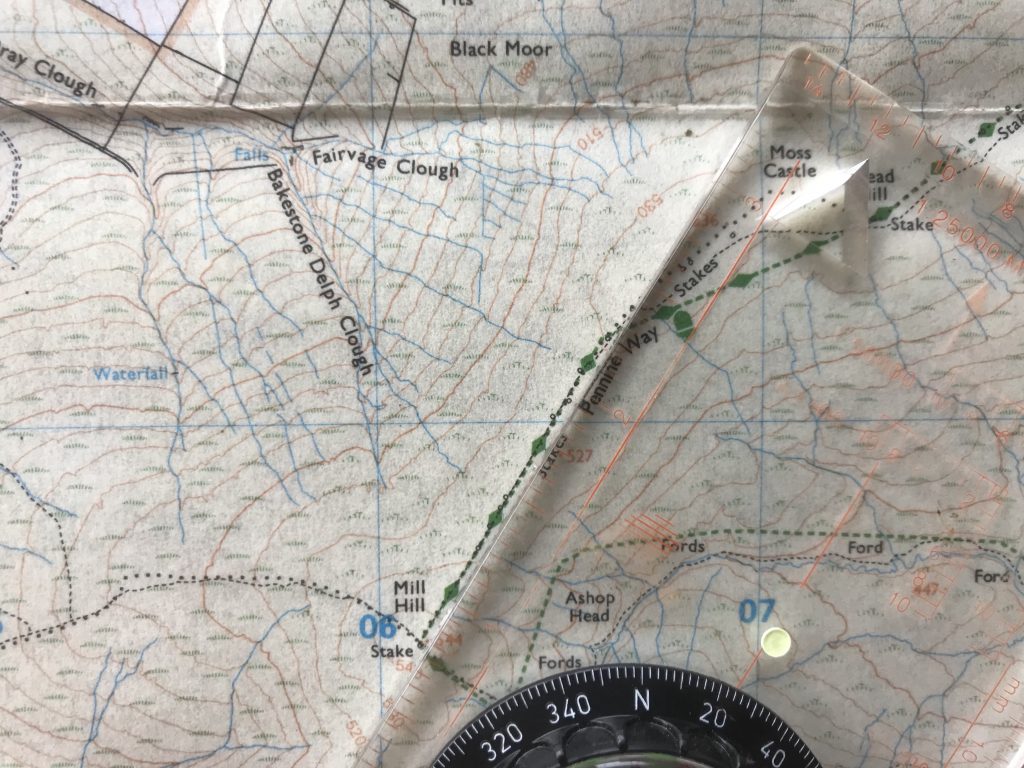
Make sure you understand the key on your map: most symbols are self-explanatory, but a few things that look like paths aren’t. This is a particularly important thing to remember. The below picture is of a parish boundary, not a path. Dashed lines are paths, but don’t plan to walk along dotted lines – they aren’t.
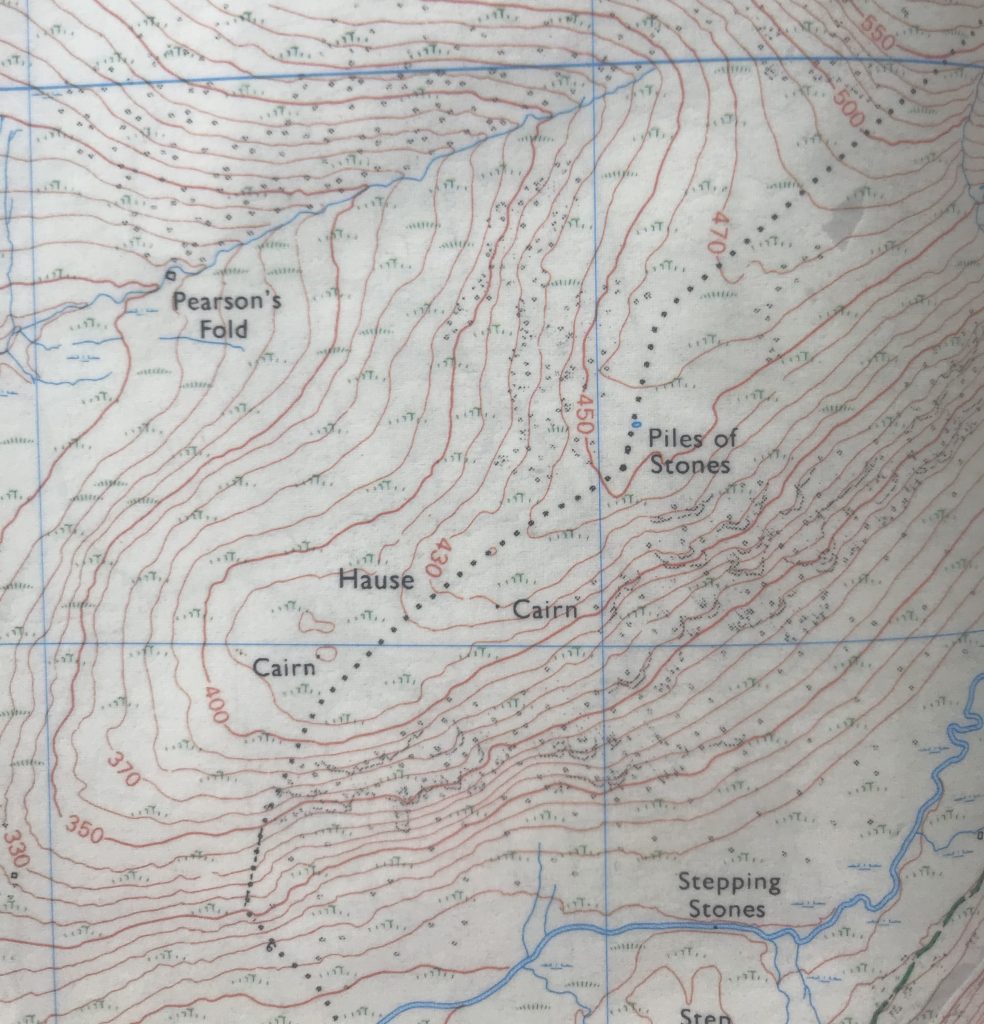
Know your Pacing
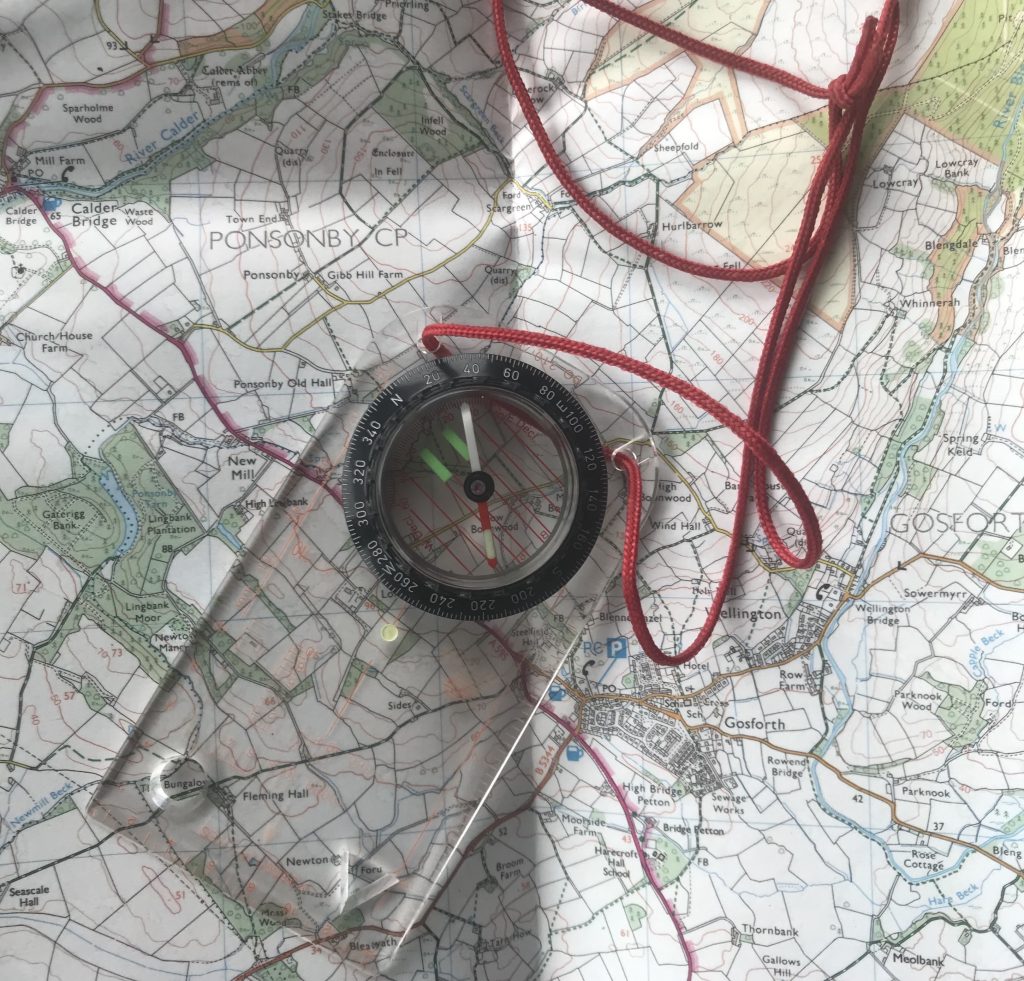
Pacing is a fundamental way of measuring your distance that basically just involves knowing how long one pace is. For example, looking at the map below, if you know you need to walk 350 m on a bearing from Boat How to the Pile of Stones, you’ll need some way of knowing when you’ve gone that 350 m or you’ll overshoot.
The best way of doing this is to know your pacing: I know that 100 m for me is usually 61 paces (the number of paces is how many times your right foot hits the ground). This means that if I take my bearing (in this case 254), and I walk for 350m = 61×3.5 = 213.5 paces, I should be exactly at the pile of stones.
Finding your Pacing
To find your pacing, measure a length of exactly 100 m (using a GPS or with features on a map), and walk it a few times in both directions, counting total paces. Finally divide by the total by the number of times you walked the distance. This should give you an answer between 50-100: this is your ‘pacing,’ the number of paces you take per 100 m.
Examples
Those four tips are great start – so let’s look at applying them to some real navigation on a map. I’ve picked some points on a map and I’ll explain how to navigate between them.
Ground to Map
The simplest navigation situation requires you to look around you and compare the features in the real world to the map. The easiest features to do this with are field boundaries and contours. If the contour lines match the shape of your surroundings, you’re looking in the right place. Once you know where you are, you can identify where you want to go on your map, then simply follow the corresponding features in the real world. This works better and better as you get more experienced, but early on you’ll be relying on other techniques too.
Note that Ground to Map is preferred: Map to Ground navigation (looking at the map features first) can be a great way to trick yourself into seeing things that aren’t there. I like to look around, and think to myself, for example, “I’m looking for a flat area with a stream to its south, a steep scrub slope to the northwest, and a prominent footpath leading east-west,” and then try to find those features in the area I know I am on the map.
Using Bearings
If you know you need to walk across a large, open field but can’t see the target in the opposite corner, you can walk on a bearing. In this case, you’ll need to take a map-to-ground bearing from your current location to the target.
Walking on a bearing is simple, but not as simple as it might seem. It is very easy (but wrong) just to take your bearing and walk in its general direction. It is best to choose a landmark that is on your bearing and then walk towards it. Good landmarks include trees and ends of hedgerows, and (obviously) not moving animals (so a sheep is useless).
Hidden Bearings – Leapfrogging
Sometimes, if, for example, it is foggy, and you can’t see any landmarks to fix your bearing on. In this case, if you are in a group, you can use your group as fixed points.
Make sure everyone in the group has their compass set to the correct bearing, and have one member of the group stay put while the others walk off in the correct direction. Go as far as you can while still being seen by the lone group member, then stop. Once stopped, the lone group member can look at their bearing and correct where the rest of the group is standing by moving them left/right until they are on the bearing. The lone member can then join the rest of the group. This can be repeated with different lone members. This is known as leapfrogging.
Obstacles – Boxing
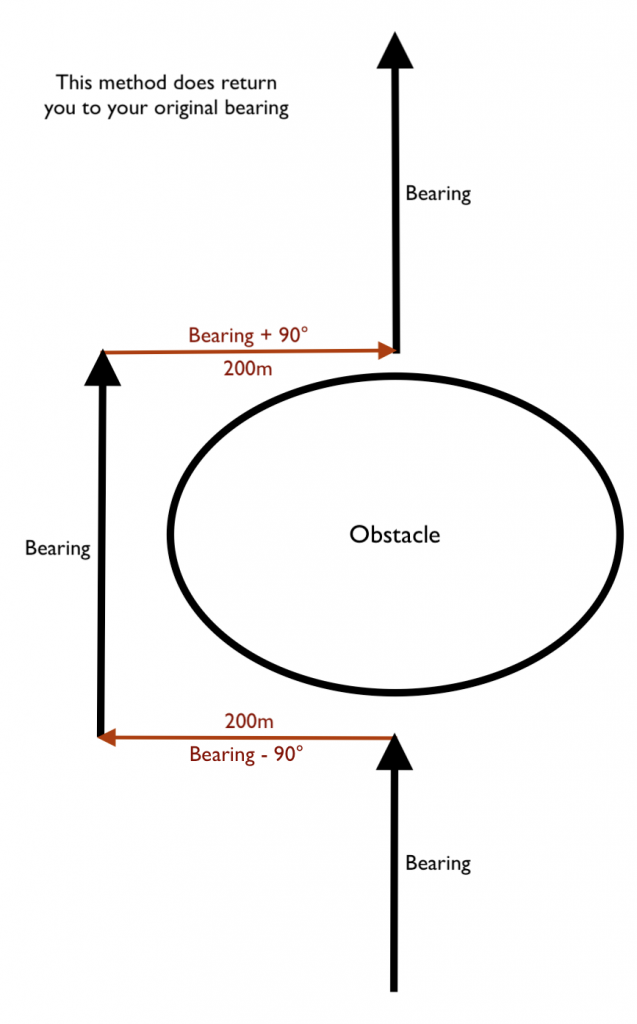
If you find an obstacle making walking in a straight line on a bearing impossible, you can use boxing. Obstacles might include bogs or dense woods, or anything else you can’t walk through. Once you get to the obstacle, turn your bearing by 90°, so you’re walking perpendicular to where you were before. Measure the distance you walk (using the length of your paces; you need to know how long these are). Once you get to the end of the obstacle, return to your original bearing until you are around your obstacle, then turn the bearing 90° in the other direction. Follow this for the same distance as before, then return to your original bearing.
Conclusion
As with taking bearings, these are all skills that need to be practiced before you can rely on them. And also as with bearings, its best to practice them somewhere you won’t get lost. These are skills that it is essential to have if you plan to spend any time outdoors, and they can easily save lives – and will definitely save time and stress. Navigation with a map and compass is a simple art which it is essential to get right.
Pingback: Hiking up Scafell Pike - Merlin Maps