
Upload GPX files to Garmin devices to get your watch to help with the navigation. Once you’ve uploaded your course, you’ll be able to follow it in the navigation menu when you start an activity.
Adding GPX files to your device helps give you some peace of mind, because it means the watch ‘knows’ where you want to go, and it can help get you there. Even if you get lost, the watch will try to get you back on your course – or at least point you in the right direction. That being said, it’s never good to rely on a device alone for navigating. If you need help with map-and-compass navigation, have a look at our guide here.
Three Methods
Garmin helpfully provides three different ways to get GPX files onto your watch:
- Using Garmin Connect in a browser and on your phone. See below.
- Using Garmin Explore (on your phone). Full guide.
- Upload GPX files to Garmin using a USB connection to your computer. Guide below.
For most users, 1. Using Garmin Connect is the simplest. Check out our guide to it here, or read on to see the pros and cons of each method.
1. Using Garmin Connect
This method is great of you already use Garmin Connect and you don’t want the hassle of downloading another app, so it’s probably there most accessible to most people.
However, you do need to use both the app and the website (at connect.garmin.com) – if you use Courses a lot, or you want to do everything from within an app, Garmin Explore may be for you – see below.
You Need:
For uploading GPX files to Garmin devices with this method, you will need:
- Your Garmin device
- A smartphone with the Garmin Connect app installed
- A browser logged in to connect.garmin.com
- Your GPX file saved to your device
How to create a GPX file
If you don’t already have a GPX file, there are many free, online tools to help create one. My favourite is the OS Maps app – if you have a map of your local area from Ordnance Survey, you can download it for free on your phone, and then plot routes on it. You can then log in to OS maps on a computer and download your file.
Uploading
1. There are a few simple steps to uploading your GPX file to Garmin Connect. Once you have your file saved on your computer, head to https://connect.garmin.com/signin/ and log in using your usual email and password.
2. Open the Training menu on the left-hand side of the page.
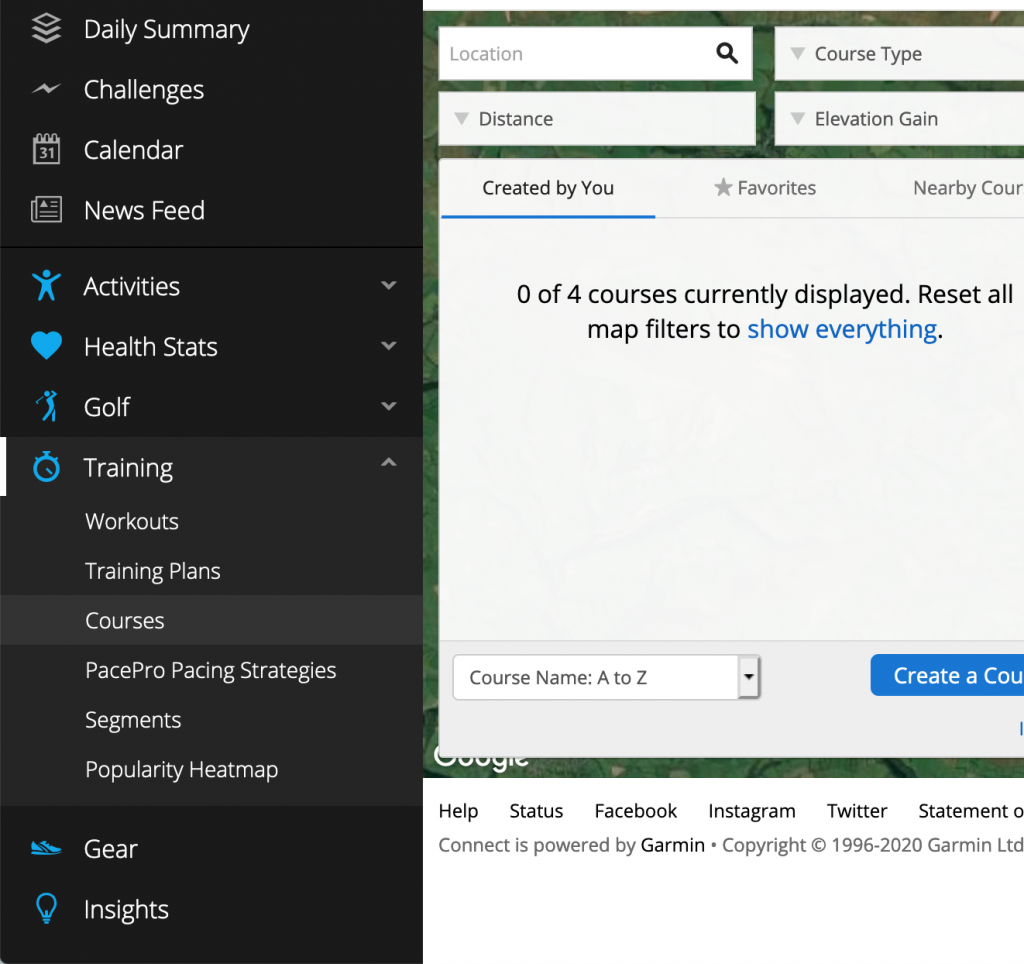
3. Within the training menu, navigate to the Courses option. This will open the courses window.
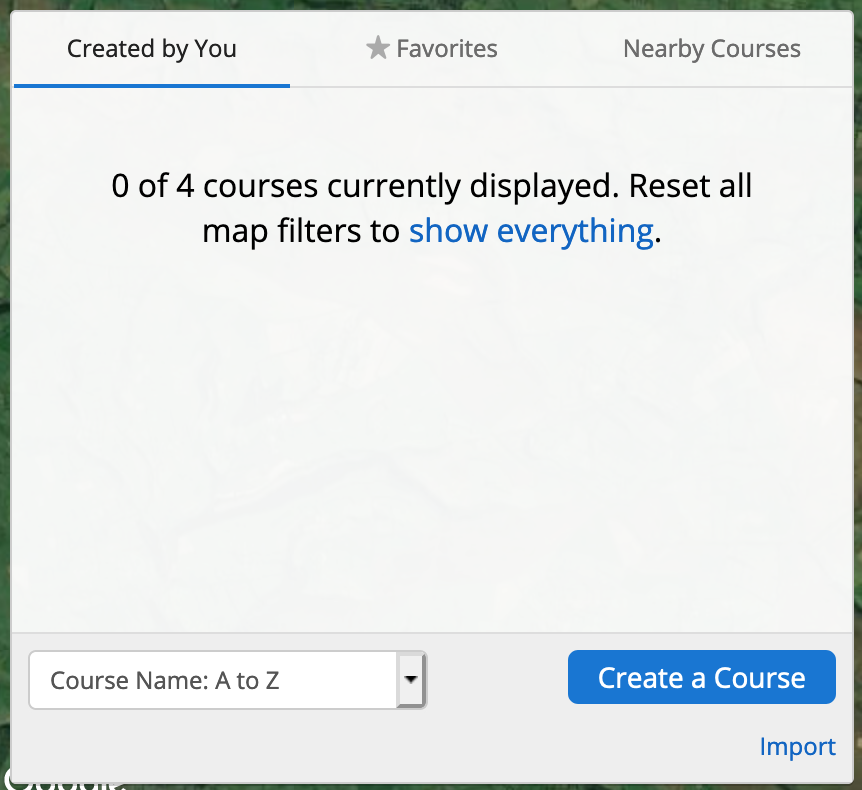
4. Click on Import in the bottom right corner of the courses window.
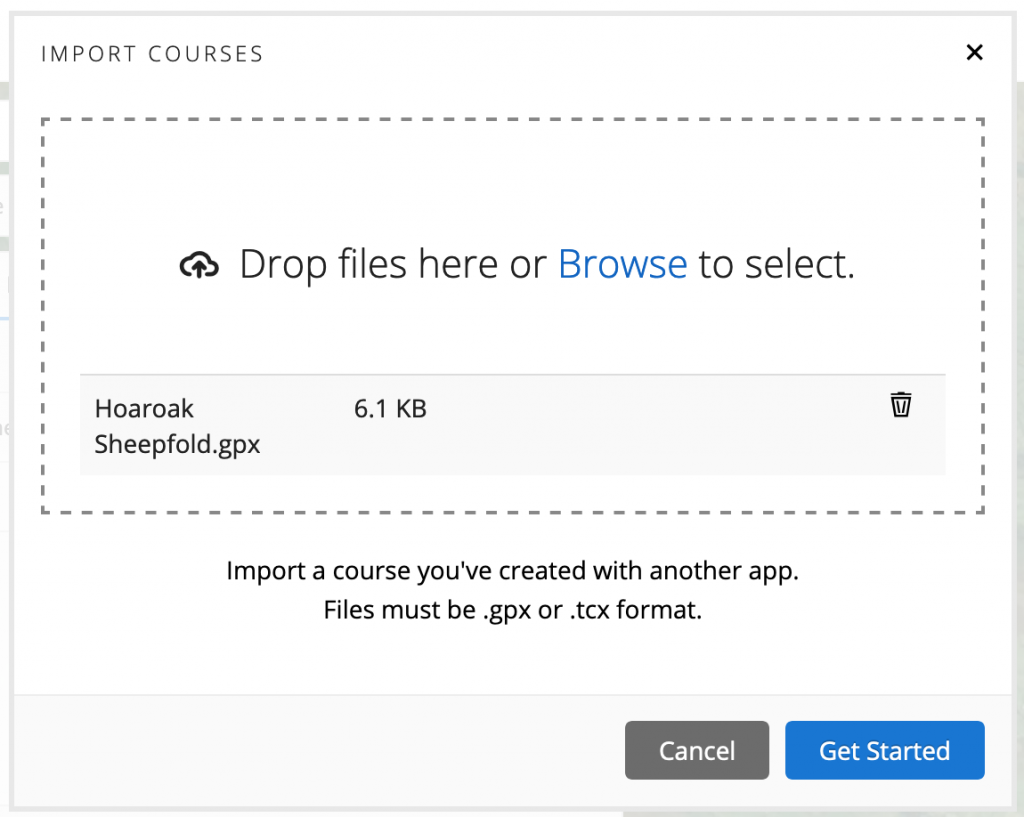
5. Select the file GPX file from your computer, and click Get Started.
6. Connect will now prompt you through upload. Select the course type, in my case hiking
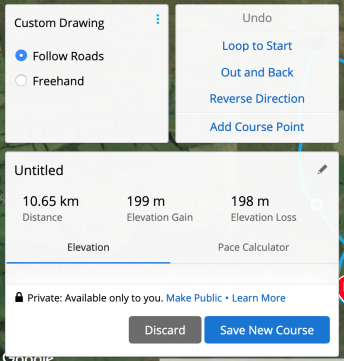
7. Give the course a name by clicking the pencil and set any settings you want to change, then click Save

Your course has been created and it will display.
Sending to Device
You now need to get the course onto your device. To do this:
- Open up the Garmin Connect app on your phone, and press the sync button (blue circular arrow, top right).
- At the bottom of your screen, press More
- Again, go to Training > Courses
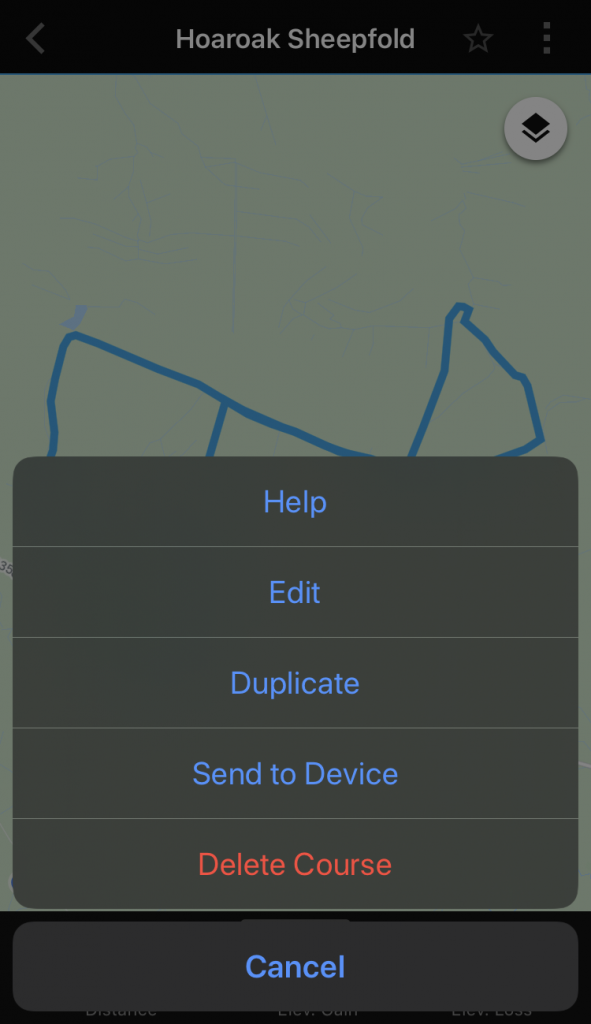
- Find your course in the menu and tap on it then press the menu (three squares) in the top right of the screen, and choose ‘Send to Device.’
- Once you sync the device, it will appear and can be followed by selecting Courses > Do Course when starting an activity.
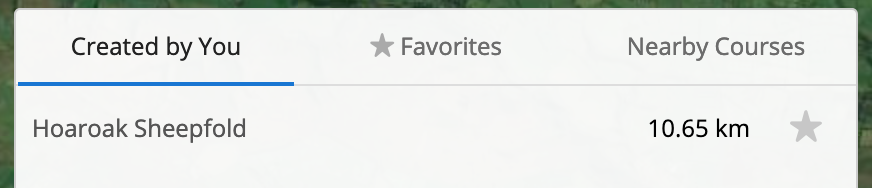
The course I’ve uploaded here is the Hoaroak Water Picnic Walk I described here.
That’s it! Once you have your file, Uploading GPX files to Garmin devices is a very simple and quick process. It may seem long here, but I’m covering every step – and each step only takes a few seconds. Once you’ve done it once, your watch will store the GPX file until you delete it, so you won’t have to do this again for the same course.
2. Using Garmin Explore
Garmin Explore has a great features to create and upload GPX files to Garmin devices, but it’s not particularly intuitive. If you don’t already use Explore, you’ll also need to download it and set it up.
If you think you’ll use Courses a lot, it’s definitely worth it – and essential if you need to upload courses on the fly.
3. Using a USB connection
This final method is probably the least useful, because you need to convert your GPX file into a .fit file for it to work. There are plenty of online converters, but it’s an extra step of faff.
Once you’ve got your .fit file, plug your Garmin device in to your computer using the charging cable, and select ‘Use as mass storage’ when prompted on the device. Now navigate to your file explorer and find the Garmin – it should appear as GARMIN. Inside the ‘Garmin’ folder, drop the course into the ‘Courses’ folder. That’s it! You can eject and unplug your Garmin and enjoy the course!
Garmin Devices
If you’re considering buying a GPS-enabled Garmin device, we have reviews of the Fenix 5 and the Garmin Instinct.
I’ve saved gpx and tcx files out to files folders on phone and i can see em on web import page but they ard gray, and not selectable. Harming connect never shows up in my share options either!
POS!
Hi,
I’m not really sure how to help with this one, as have never run into a similar issue when uploading GPX on my computer, and have never tried uploading GPX on my phone.
Hi James, Perfect. It works. Thank you very much
There is a simpler method for Garmin 830
Connect the GPS to a computer
Copy the GPX file to the NewFiles folder
Done
On the GPS, select Navigation and open a route.